Setting Up Paystack or PayPal for Your Website
If you run an online business, you need a simple and secure way for customers to pay you. In Nigeria and across Africa, Paystack has become the go-to payment gateway, while PayPal is the global favorite.
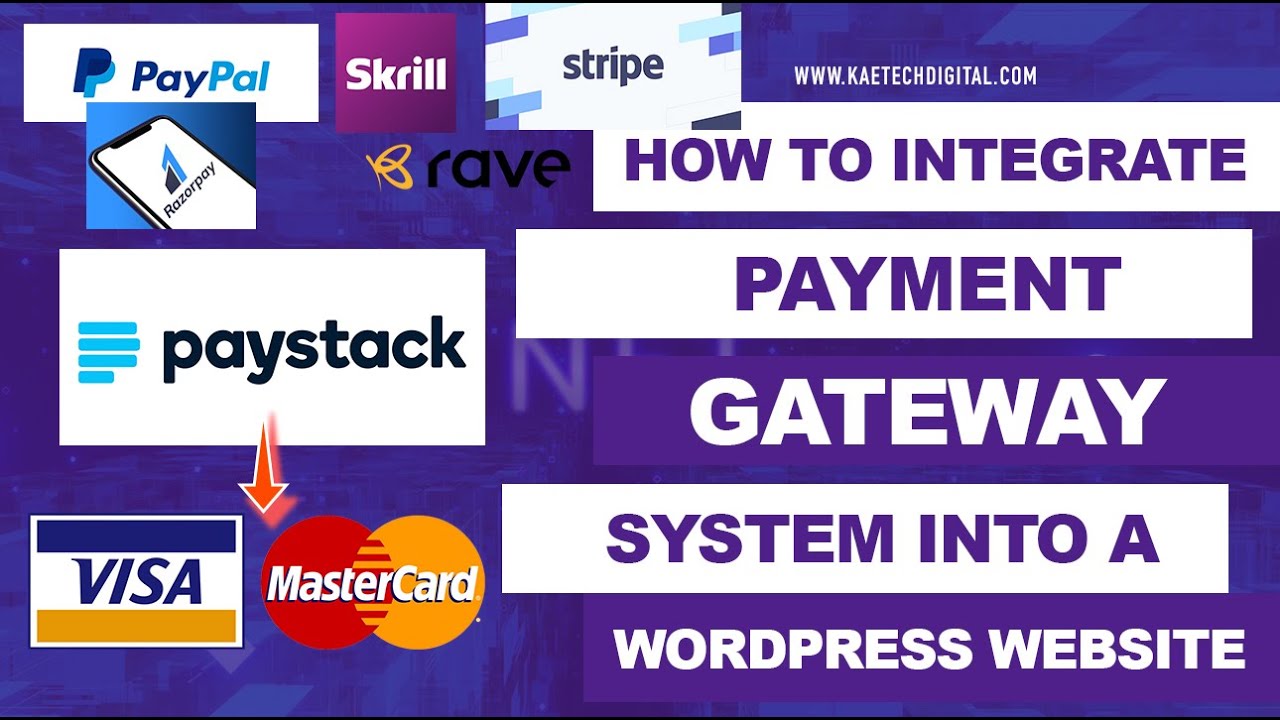
The good news? You can easily integrate both into your WordPress or e-commerce website to accept payments from local and international customers.
Here’s how:
1. Why Paystack and PayPal?
- Paystack: Supports cards, bank transfers, and mobile money in Nigeria, Ghana, and beyond. Payouts go directly into your bank account.
- PayPal: Accepted globally and trusted by millions. Perfect for selling to customers outside Africa.
💡 Pro Tip: Many businesses use both — Paystack for African customers and PayPal for international buyers.
2. Setting Up Paystack on WordPress (WooCommerce)
- Create a Paystack Account
- Visit Paystack and sign up.
- Complete KYC verification with your business details and bank account.
- Install the Paystack Plugin
- Log in to your WordPress dashboard.
- Go to Plugins → Add New → Search for WooCommerce Paystack Payment Gateway.
- Install and activate.
- Get API Keys
- In your Paystack dashboard → Settings → API Keys & Webhooks.
- Copy your Public Key and Secret Key.
- Configure in WooCommerce
- Go to WooCommerce → Settings → Payments → Paystack.
- Paste your API keys.
- Enable Paystack as a payment option.
✅ Done! Customers can now pay with their cards, USSD, or bank transfers.
3. Setting Up PayPal on WordPress (WooCommerce)
- Create a PayPal Business Account
- Visit PayPal and sign up for a business account.
- Verify with email, phone, and bank account.
- Install the PayPal Plugin
- From your WordPress dashboard → Plugins → Add New.
- Search for WooCommerce PayPal Payments (official plugin).
- Install and activate.
- Connect PayPal to WooCommerce
- Go to WooCommerce → Settings → Payments → PayPal.
- Click Set Up.
- Log in with your PayPal account and authorize WooCommerce.
- Customize Checkout
- Enable features like “Pay Later” or “Pay with PayPal balance.”
✅ Done! You can now receive payments from customers worldwide.
4. Testing Your Payment Gateway
- Place a test order on your site.
- Pay with a real card or PayPal balance to ensure the system works.
- Check your Paystack/PayPal dashboard to confirm funds appear.
5. Tips for Smooth Payment Integration
- Offer multiple payment options (Paystack + PayPal).
- Clearly state accepted payment methods on your site.
- Always test payments after updates or changes.
- For higher conversions, use a trusted SSL certificate (https).
✅ Final Thoughts
Setting up Paystack and PayPal on your website ensures you can accept payments locally and internationally, giving your business more opportunities to grow.
- Use Paystack for Nigerian/African customers.
- Use PayPal for global customers.
- Combine both to maximize your reach and sales.