Setting up a visual desktop in Windows 10 involves customizing the desktop environment with visual elements like wallpapers, themes, icons, widgets, and other interface enhancements to create an aesthetically pleasing and functional workspace. Here’s a step-by-step guide to help you create a visually appealing desktop in Windows 10:
1. Change the Wallpaper
Steps:
- Right-click on the desktop and select Personalize.
- In the Background section, choose from:
- Picture: Click Browse to select a single image from your computer.
- Solid Color: Choose a background color from the list.
- Slideshow: Click Browse to select a folder containing multiple images to use as a slideshow background.
- Select how the wallpaper fits on your screen (Fill, Fit, Stretch, Tile, Center, Span).
2. Apply a Theme
Themes can change your desktop background, color scheme, sounds, and mouse cursor all at once.
Steps:
- Right-click on the desktop and select Personalize.
- Click Themes in the left sidebar.
- Choose a theme from the available options or click Get more themes in Microsoft Store to download new ones.
- Click on a theme to apply it.
3. Customize Desktop Icons
Steps:
- Right-click on the desktop and select Personalize.
- Go to Themes and then click Desktop icon settings.
- Check or uncheck the icons you want on your desktop (e.g., Computer, Network, Recycle Bin).
- To change an icon, click on it, select Change Icon…, and choose a new icon from the list or Browse for a custom one.
4. Use Custom Icons and Cursors
You can download custom icons and cursor packs to further personalize your desktop.
Steps:
- Download custom icon packs from websites like IconArchive or DeviantArt.
- Extract the downloaded files if necessary.
- Right-click on the desktop icon you want to change and select Properties.
- Click the Change Icon… button and browse to the location of your downloaded icons.
- Apply the changes.
To change the cursor:
- Go to Settings > Devices > Mouse.
- Click on Additional mouse options on the right sidebar.
- In the Mouse Properties window, go to the Pointers tab.
- Select the cursor you want to change, click Browse…, and choose your custom cursor file.
- Apply the changes.
5. Organize the Taskbar
Steps:
- Right-click on the taskbar and select Taskbar settings.
- Choose whether to Lock the taskbar, Automatically hide it, or move it to the left, right, or top of the screen.
- Use Small taskbar buttons for a minimalist look.
- You can also hide system icons by selecting Turn system icons on or off.
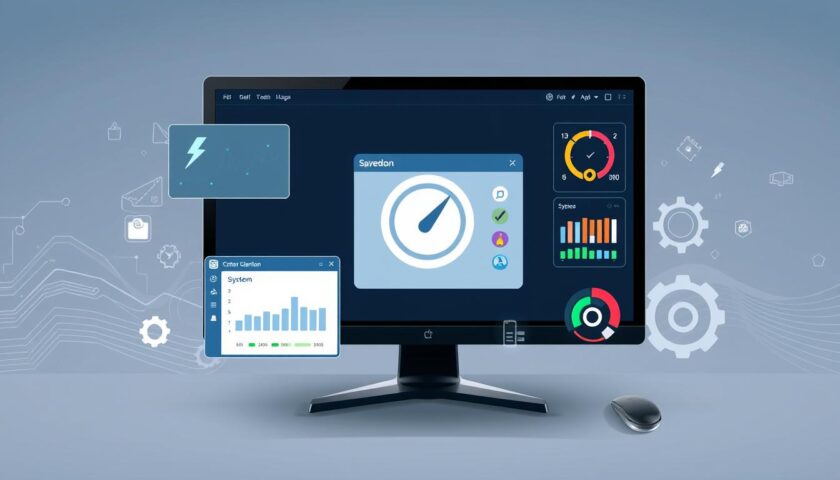
6. Add Widgets and Desktop Gadgets
Windows 10 does not natively support gadgets like Windows 7, but you can add widgets using third-party applications.
Popular Widgets Applications:
- Rainmeter: A free and highly customizable desktop customization tool that allows you to add widgets like clocks, calendars, system monitors, and more.
- XWidget: A lightweight tool for creating and adding widgets.
Steps to use Rainmeter:
- Download and install Rainmeter from its official website.
- Browse and download skins from various websites (like DeviantArt or the Rainmeter forums).
- Install the skin by double-clicking the downloaded file or copying it to the Skins folder in your Rainmeter installation directory.
- Right-click the Rainmeter icon in the system tray and select Manage.
- Click on Skins, then choose the skin you want to activate and click Load.
7. Change the Start Menu and Taskbar Color
Steps:
- Right-click on the desktop and select Personalize.
- Go to Colors in the left sidebar.
- Choose a color or select Custom color to pick a specific shade.
- Scroll down to toggle Start, taskbar, and action center to apply the color.
8. Enable Transparency Effects
Transparency effects can give your Start Menu, taskbar, and other elements a frosted glass appearance.
Steps:
- Right-click on the desktop and select Personalize.
- Go to Colors in the left sidebar.
- Scroll down and toggle Transparency effects to On.
9. Install Third-Party Desktop Customization Software
For advanced customization, third-party software can offer more options.
Popular Tools:
- Stardock Fences: Allows you to organize desktop icons into customizable shaded areas.
- Wallpaper Engine: Lets you use live wallpapers on your desktop.
- WindowBlinds: Provides additional themes and visual styles for Windows.
Steps to Use Wallpaper Engine:
- Purchase and install Wallpaper Engine from Steam.
- Browse and download wallpapers from the Steam Workshop.
- Open Wallpaper Engine and select the wallpaper you want to apply.
10. Adjust Icon Size and Spacing
Steps:
- Right-click on the desktop and select View.
- Choose Large icons, Medium icons, or Small icons.
- To further adjust spacing, you can hold down the Ctrl key and scroll with your mouse wheel to resize icons.
11. Set Up Virtual Desktops
If you use your computer for multiple tasks, you can use virtual desktops to organize them.
Steps:
- Click the Task View button on the taskbar or press Windows + Tab.
- Click New Desktop to create a new virtual desktop.
- Switch between desktops by clicking on them in Task View or by using Windows + Ctrl + Left/Right Arrow.
By following these steps, you can create a visually appealing and personalized desktop environment that suits your taste and enhances your productivity.